Matplotlib 动态图还可以这样玩,收藏了!
阅读量:次 Authors: 阳哥 PYTHONVISUALIZATION
Matplotlib
阅读量:次 Authors: 阳哥 PYTHONVISUALIZATION
Matplotlib
Table of Contents
大家好,我是 阳哥。
Matplotlib 是 Python 数据可视化中不可或缺的一个可视化库,「Python数据之道」之前也给大家分享了一系列 Matplotlib 从基础到进阶的内容,包括:
今天给大家分享的是使用 Matplotlib 来创建动态 gif 图片,这个内容是以前没有分享过的。 但 Lemon 觉得今天的内容也是特别的实用。
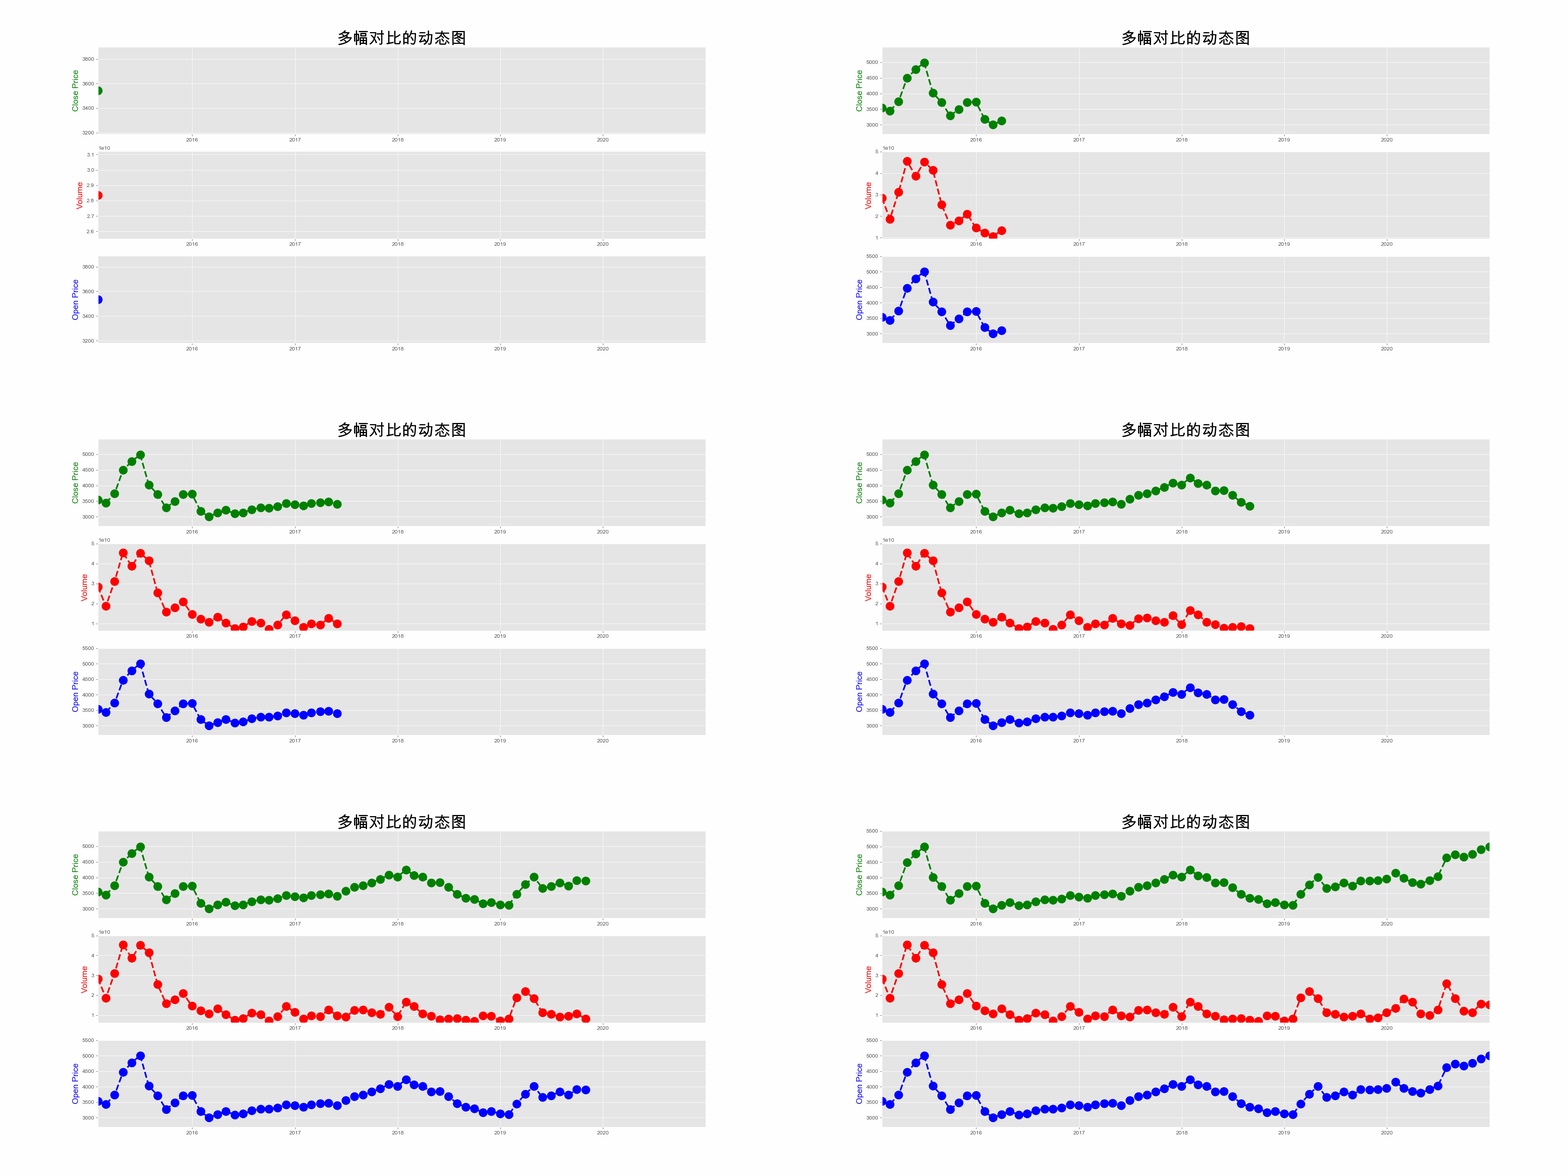
今天给大家分享的包括4种类型的动态 gif 图,分别是单曲线动态图、分段分不同背景颜色的动态图、双曲线动态图、多图多曲线动态图。
核心思路是通过 Matplotlib 绘制动态图的动画帧,然后通过 python 的 ‘gif’ 库来绘制动态图片。
先来看看单曲线动态图,效果如下:

实现上面视频中效果的代码如下:
START = df_300_price.index[0]
END = df_300_price.index[-1]

### step1:创建动态图每帧的自定义函数
@gif.frame
def plot(df,date):
    df = df.loc[df.index[0]:pd.Timestamp(date)]
    fig, (ax1) = plt.subplots(1,figsize=(20,10),dpi=100)
    ax1.plot(
        df.close, marker='o',
        linestyle='--',
        linewidth=3,
        markersize=15,
        color = 'tab:blue'
        )
    y_max = round(df.close.max()*1.05)
    y_min = round(df.close.min()*0.95)
    ax1.set_title('沪深300指数2015年至2020年月均指数点位',fontsize=30)
#     ax1.set_title('average close price of Hushen 300 index during 2010 to 2020', fontsize=30)
    ax1.set_xlim([START,END])
    ax1.set_ylim([y_min,y_max])
    ax1.set_ylabel('指数收盘点位', color='tab:blue', fontsize=20)
    # 设置刻度字体大小
    ax1.tick_params(labelsize=16)


### setp2:将动画帧组合起来
frames = []
for date in pd.date_range(start =START, end=END,freq='1M'):
    frame = plot(df_300_price,date)
    frames.append(frame)

### step3:使用 gif库 保存图片
date1 = datetime.datetime.now().strftime('%H%M%S')
output1 = "output1_{}.gif".format(date1)
print(output1)
gif.save(frames, output1,duration=0.5,unit = 's')

# step4:在网页中看 gif 图片的效果
HTML('<img src="./{}" />'.format(output1))
代码的实现,从上面的代码注释来看,分为4个小的步骤,生成动态图是前面的3个步骤(step1 至 step3), step4 是用来在 Jupyter Notebook 中查看效果的。
效果是不是很赞啊,另外 3 种动态图的代码实现过程也是类似的,其效果如下:


为了方便大家练习和复现上面的效果,阳哥 整理好了本文的实现代码过程,大家可以在下面的公众号 「Python数据之道」 回复 mat-gif 来获取。
